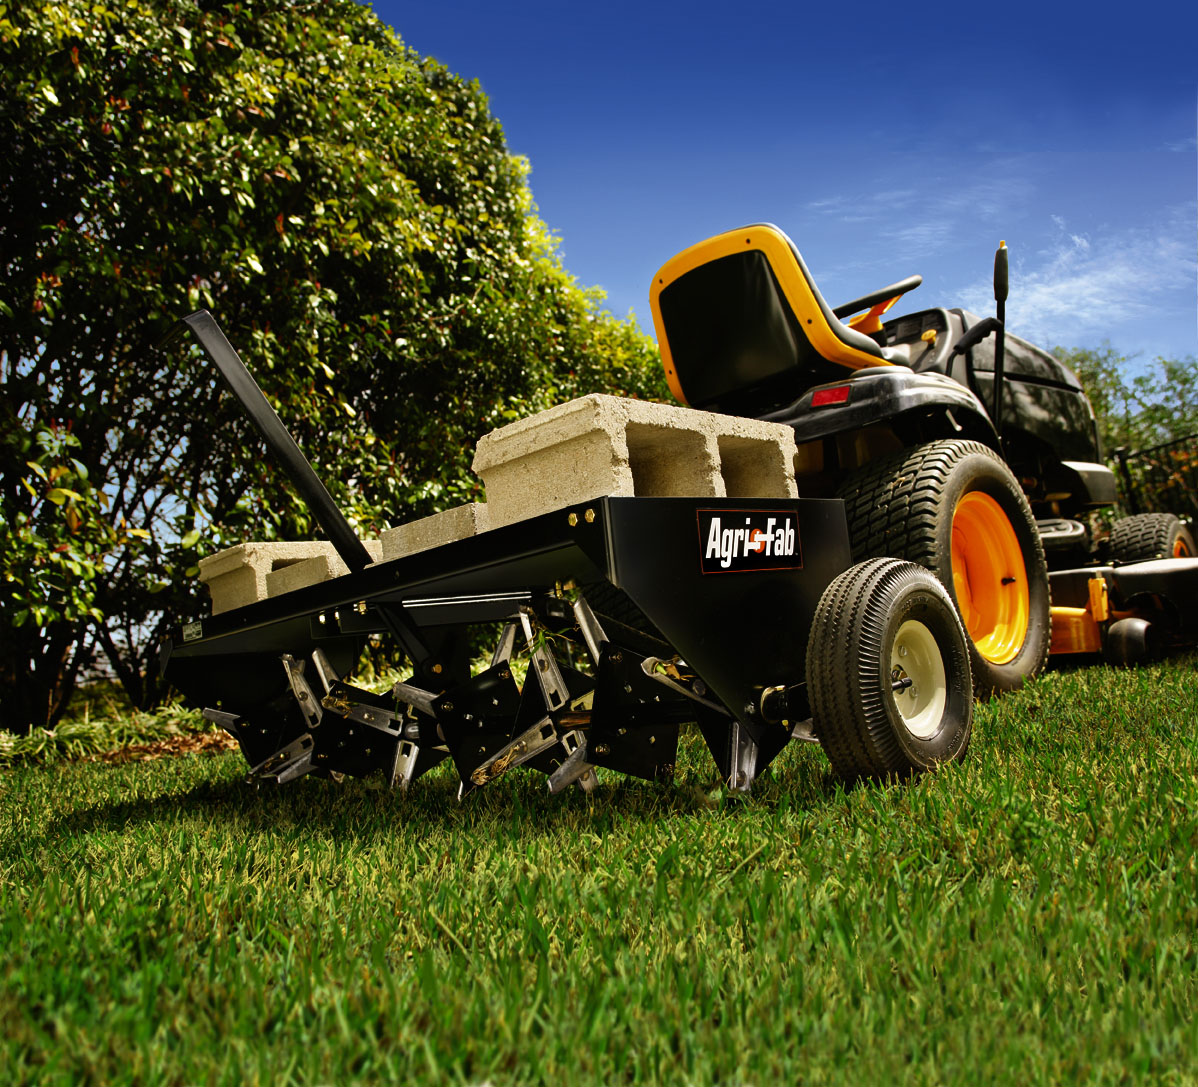
An excellent yard can be accomplished and kept up with by following a couple of essential grass care rehearses, such as cutting, treating and watering. Too as guaranteeing supplements can arrive at the dirt under your grass, you ought to likewise ensure it is liberated from weeds. Air circulation can be a vital piece of keeping a solid yard as it permits air and water to infiltrate cover and develop. Circulate air through your grass to dispose of cover and make a sound, green yard.
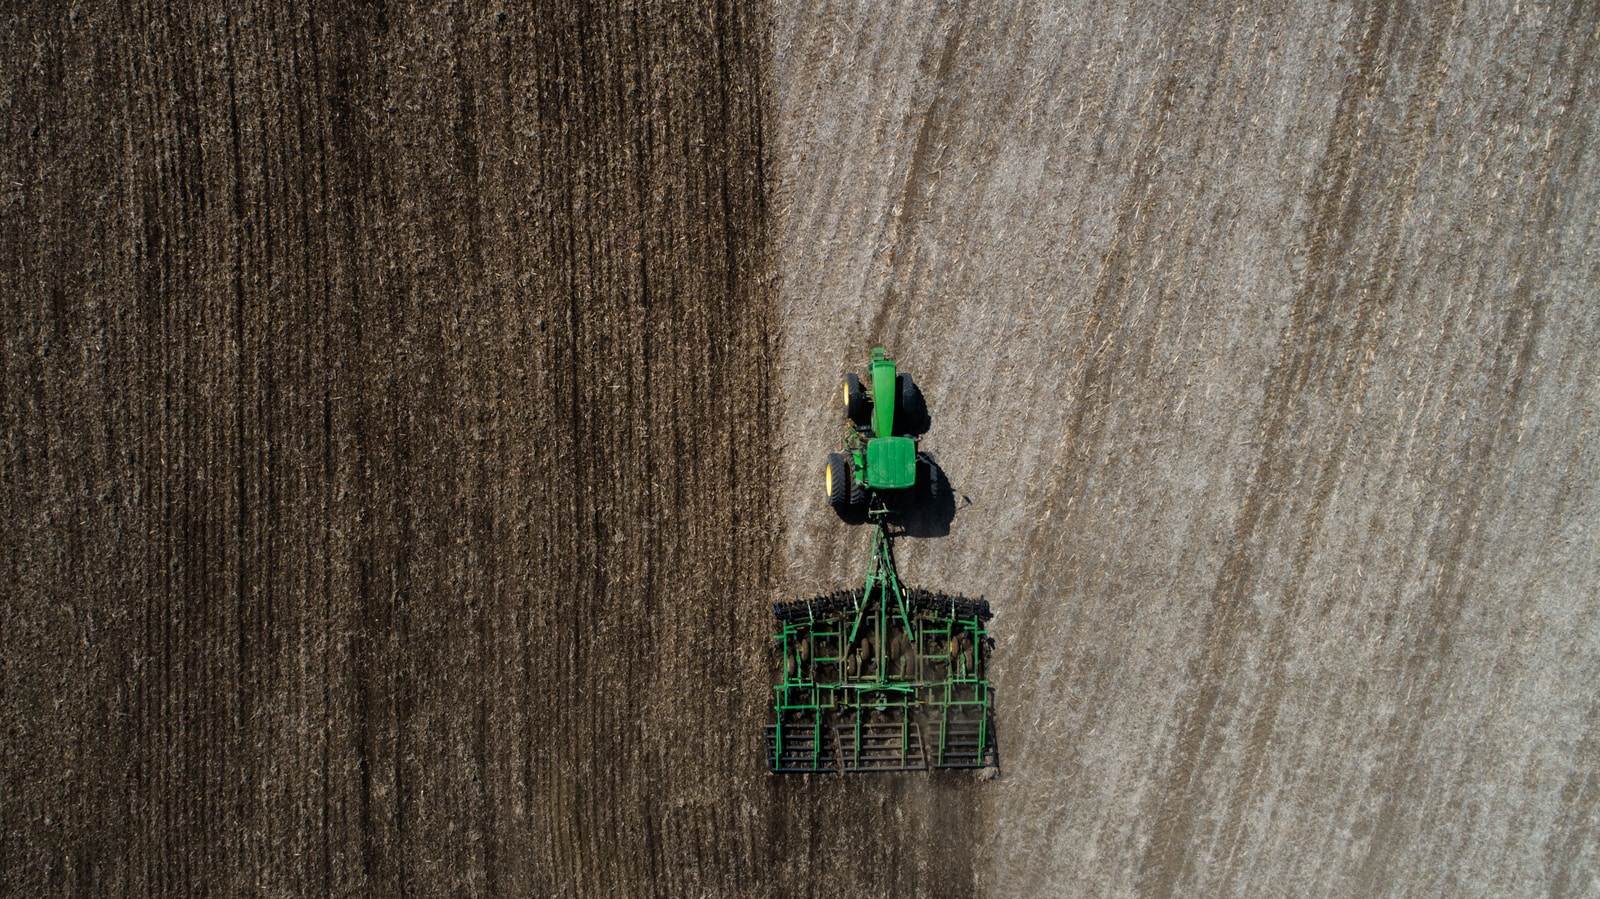
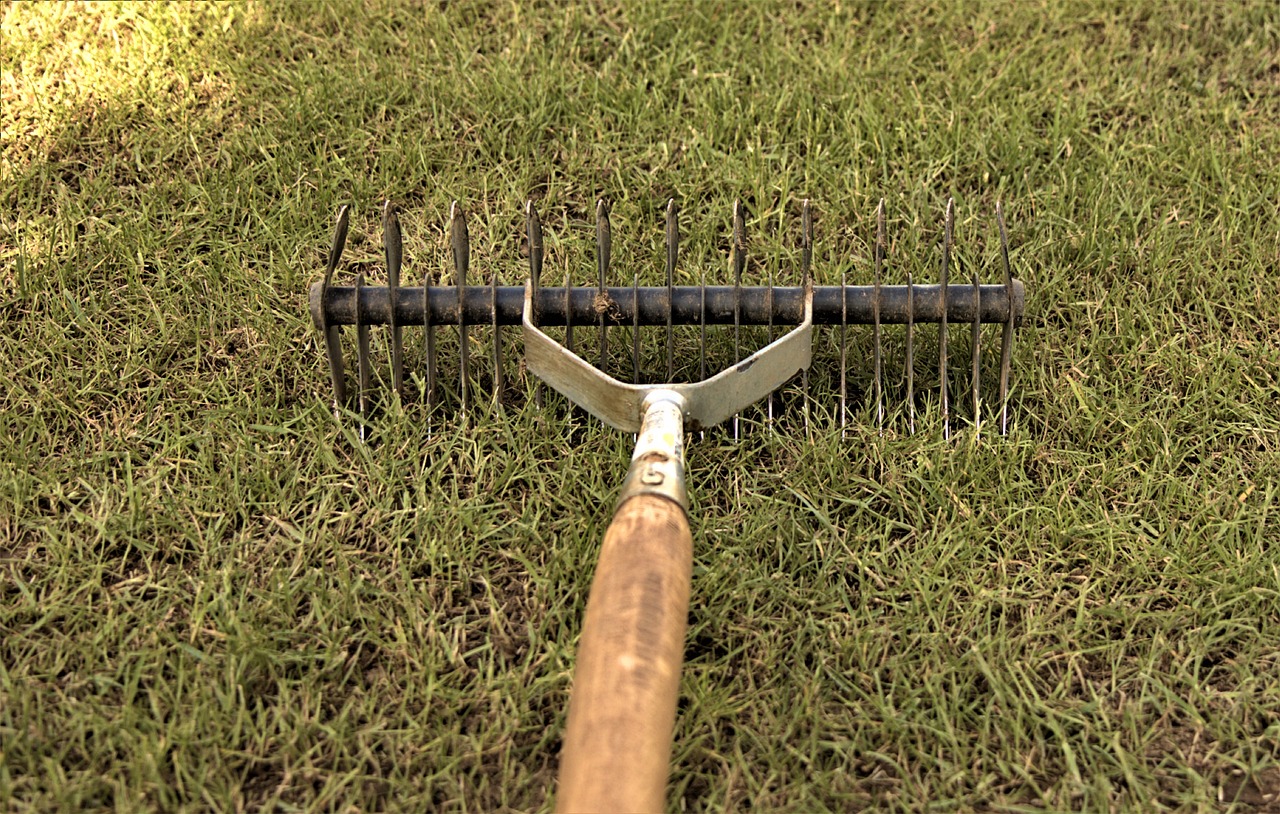
Genuine lavish, dynamic green yards require a lot of work and devotion. On the off chance that you desire to prevail with regards to keeping up with green lavish yards, there are a couple of steps you should follow. Perhaps the most significant is air circulation, which is regularly neglected. It might be because it can be physically demanding and time-consuming and often considered expensive as well. An easy Do-It-Yourself (DIY) project is the best option if you’re restricted by a tight budget. A homemade aerator can be made with an old garden rake and masonry nails. With this method, you can aerate your lawn most efficiently and at the lowest cost. So, let’s quickly dive deep into the process of making a lawn aerator at home.
The dimensions of materials required completely depends on the size of garden rake you have. Here we have taken the following dimensions for illustration purpose and will continue to make lawn aerator with these configurations only.
Materials used:
- garden rakes
- Two wooden boards, each measuring 3 1/2″ x 3/4″ x 11″.
- 4 pieces of 1 1/4″ wood screws.
- A set of 11 nails with a diameter of 3 inches.
- 3 pieces of 3/4-inch eye screws.
- Glues for construction
Follow the step-by-step procedure given below and get homemade lawn aerator at your hand.
- Pick one of the 2 wooden boards to serve it as the bottom aerator board. Create a diamond pattern on the entire board with the help of chalk or any marker.
- As we create diamond pattern, each diamond shapes will intersect at a point. This is the spot where nails (aerator spikes) are going to be placed. So, drill small holes at these intersection points on the top of this aerator wooden board.
- Aerator spikes can be hammered into the pre-drilled holes easily and will be more vertical as a result. Besides preventing cracks and splinters of the wood, it will also help it last longer.
- The aerator spikes ought to be pressed through the aerator board at the bottom. For aerator spikes to function properly, all nails (heads) must be flush with the bottom board. Additionally, weight plates or other supports can be used.
- Put the spikes in between the supports after you have laid the supports on the ground. Keep the spikes of the aerators vertical at all times.
- You remember we are left with one wooden board, use it now with as top aerator board. The bottom aerator board must be adhered to the top aerator board with construction adhesive. Now, Ensure the drying process is completed.
- By attaching four wood screws to each aerator board, you will strengthen its adhesion.
- The top aerator board needs to have three eye screws attached. In this case, the eye screws can be used as holders for the 3 prongs of the garden rake.
- Featuring the spike aerator, we can now attach the rake to the spike aerator. Using the garden rake, now orient the 3 prongs with the 3 holders (eye screws) of the spike aerator.
- Aerator eye screws are used in coincidence with the 3 prongs. If the spike garden rake’s head is shorter than the spike lawn aerator, that’s no problem. Simply make sure the spike lawn aerators’ holders fit well.
Now that we have successfully made a lawn aerator, the question that’s most probable to arise in your mind now is how to use it. So here is a short Guide to Using a Manual Lawn Aerator.
To use this garden lawn aerator, you must press the spikes into the soil using your bodyweight. In order to press down the spikes of the lawn aerator, you can use either foot. Alternatively, you can hold the long handle on one side of one leg or between your legs.
Steps to aerate your garden with homemade lawn aerator:
Step1- In case the soil has become very compacted, water the lawn sufficiently to soften it a bit.
Step2- While holding the lawn aerator vertically, stand on a garden rake. Shift your body weight to apply more pressure to the lawn aerator. If there are stones under the aerator spikes, it is not necessary to sink them fully into the ground. Do keep that in mind!
Step3- Pull up the handle of the garden rake after you remove the foot from the rake. A garden rake’s handle may need to be slanted just a little to allow aerators to be easily removed.
Step4- If the spike holes are uneven, move the blade to the next location and aerate the lawn.
Aerator garden lawns safely by following safety precautions. It is possible to be injured by pointed nails. So, it’s advisable to keep homemade lawn aerator in a protective cover so that the risk of injuries occurring due to lawn aerator significantly reduces.
Lastly, a few tips on how to aerate your lawn:
For a lawn core aerator, the plugs should be about half an inch to 3/4 inch wide and two to four inches deep. Ineffective aerators create a narrow hole within the soil. If your lawn is in an active growth phase, you should aerate it annually. In two to four weeks, the plugs will decompose and return to the lawn. As long as the soil underneath your grass is not too wet but still moist, an aerator with long handle or possibly an aerator with only one plug will be less difficult to push into the soil. If your lawn is still wet following a few rainy days, wait for it to dry out for one particular or two days. You can also water the lawn 2 or 3 days before aeration so that at least 1 inch of water penetrates the soil.